
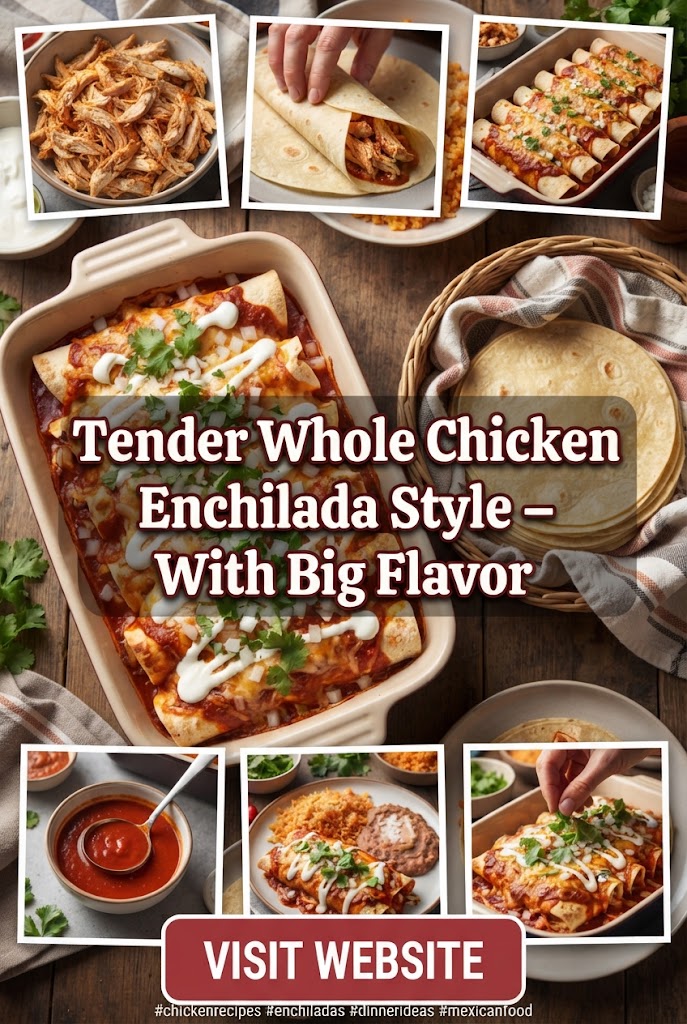
In the world of home cooking, few things are as comforting as a perfectly roasted chicken. However, even the most beloved classics can benefit from a bold, zesty makeover. Enter the Tender Whole Chicken Enchilada Style. This isn’t just a recipe; it’s a culinary fusion that marries the succulent, juicy nature of a slow-roasted bird with the vibrant, spicy, and tangy profiles of traditional Mexican enchiladas.
If you are tired of the same old lemon-herb seasoning and are looking for a show-stopping centerpiece for your next family dinner or festive gathering, this is the dish for you. This guide will walk you through every nuance of creating this masterpiece, from selecting the right bird to mastering a homemade enchilada sauce that packs a punch.
Why You Need to Try Enchilada-Style Whole Chicken
Typically, when we think of enchiladas, we think of tortillas rolled around shredded meat. But by applying those same flavor profiles—cumin, chili powder, garlic, and rich tomato-based sauces—to a whole chicken, you achieve a depth of flavor that a simple shredded taco can’t match.
The skin of the chicken becomes a canvas for a thick, smoky rub, while the internal juices mingle with the enchilada sauce to create a gravy that is nothing short of liquid gold. It is a one-pan wonder that delivers high-impact flavor with a rustic, impressive presentation.
The Foundation: Selecting the Perfect Chicken
To achieve “Big Flavor” and “Tender” results, you must start with the right protein.
- Size Matters: Aim for a 4 to 5-pound roasting chicken. This size is large enough to feed a family but small enough to cook evenly without the breast meat drying out before the dark meat is done.
- Quality of Meat: Whenever possible, opt for an air-chilled chicken. Traditional water-chilling methods can dilute the flavor and prevent the skin from getting that desirable crispiness.
- Room Temperature: Never put a cold chicken straight into the oven. Let it sit on the counter for 30 to 45 minutes to take the chill off. This ensures the fibers relax and cook uniformly.
The Secret to Maximum Tenderness: The Dry Brine
Before a single drop of enchilada sauce touches the bird, you must focus on the texture. The secret to a “melt-in-your-mouth” chicken is a dry brine.
A dry brine involves coating the chicken in salt and spices at least 4 to 24 hours before cooking. This process draws moisture out of the skin (making it crispier) while allowing the salt to penetrate deep into the muscle fibers, breaking down proteins and ensuring the meat stays juicy even at high temperatures.
The Signature Enchilada Dry Rub
- 2 tablespoons Kosher salt
- 1 tablespoon smoked paprika (for that deep, earthy color)
- 1 teaspoon chipotle chili powder (for a kick)
- 1 teaspoon ground cumin
- 1 teaspoon garlic powder
- 1/2 teaspoon Mexican oregano
Rub this mixture liberally both over and under the skin. This ensures the flavor is embedded in the meat, not just sitting on the surface.
Crafting the Perfect Enchilada Sauce from Scratch
While store-bought sauce works in a pinch, creating your own is the difference between a “good” meal and a “legendary” one. A homemade sauce allows you to control the heat levels and the complexity of the spices.
Ingredients for Big Flavor Sauce
- Dried Chilies: Ancho (sweet and smoky) and Guajillo (tangy and mild).
- Aromatics: Fresh white onion and at least 4 cloves of garlic.
- The Base: Tomato paste and chicken stock.
- The Secret Ingredient: A small piece of Mexican chocolate or a teaspoon of cocoa powder. This adds a velvety richness that balances the acidity of the tomatoes.
The Process
- Toast the Chilies: Remove stems and seeds from dried chilies and toast them in a dry pan until fragrant.
- Rehydrate: Soak them in boiling water for 15 minutes.
- Blend: Combine the soaked chilies, some of the soaking liquid, sautéed onions, garlic, cumin, oregano, and tomato paste in a blender.
- Simmer: Cook the blended sauce in a saucepan with a little oil for 10 minutes to deepen the color and thicken the texture.
Step-by-Step Guide to Roasting the Enchilada Chicken
There are two primary ways to roast this chicken: the traditional whole-bird method or the “Spatchcock” method. For the most even cooking and maximum sauce coverage, we recommend Spatchcocking.
What is Spatchcocking?
Spatchcocking involves removing the backbone of the chicken and flattening it out. This allows the heat to hit the legs and breasts simultaneously, cutting the cooking time by nearly 30% and ensuring every inch of the bird gets covered in that glorious sauce.
Cooking Instructions
- Preheat: Set your oven to 425°F (218°C). High heat is essential for the initial sear.
- The First Roast: Place the dry-brined chicken on a rimmed baking sheet or in a cast-iron skillet. Roast for 20-25 minutes until the skin begins to brown and the fat starts to render.
- The Basting Phase: Remove the chicken from the oven. Lower the heat to 375°F. Pour your homemade enchilada sauce generously over the bird. Use a brush to ensure every crevice is coated.
- The Final Stretch: Return the chicken to the oven. Continue roasting for another 30-40 minutes. Every 15 minutes, baste the bird with the juices and sauce pooling in the bottom of the pan.
- The Temperature Check: Use a meat thermometer. You are looking for 165°F (74°C) in the thickest part of the thigh.
The Role of Aromatics and Vegetables
While the chicken is the star, the environment it cooks in matters. Surround your chicken with “flavor sponges”—vegetables that soak up the drippings and the enchilada sauce.
- Thick Sliced Onions: These caramelize in the chicken fat.
- Bell Peppers: They add a natural sweetness that counters the spice.
- Corn on the Cob: Cut into small wheels, these soak up the sauce and provide a wonderful texture.
- Potatoes: Gold or red potatoes become incredibly tender and flavorful when roasted in enchilada sauce.
Toppings: The Final Flavor Flourish
Once the chicken is out of the oven, it needs to rest for at least 15 minutes. This is non-negotiable. If you cut it too soon, all the juices will escape, leaving you with dry meat. While it rests, prepare your garnishes.
- Fresh Cilantro: For a burst of herbal freshness.
- Cotija Cheese: A salty, crumbly Mexican cheese that doesn’t melt but provides a great texture.
- Pickled Red Onions: The acidity cuts through the richness of the roasted meat.
- Avocado Slices or Crema: To provide a cooling element to the spice.
- Fresh Lime Wedges: A squeeze of lime right before eating brightens all the earthy spices.
Spatchcocking vs. Traditional Roasting: Which is Better?
While we touched on spatchcocking, it’s worth diving deeper into why it’s often the preferred method for “Big Flavor.”
- Surface Area: A flattened chicken has more surface area exposed to the sauce and the dry rub. This means more “flavor per bite.”
- Uniformity: In a traditional roast, the breasts often dry out before the thighs are safe to eat. Spatchcocking levels the playing field, keeping the breast meat exceptionally tender.
- Crispy Edges: The flattened skin has a better chance of developing those slightly charred, crispy edges that provide a satisfying crunch against the saucy interior.
Side Dishes That Elevate the Meal
You have a bold, spicy chicken; now you need sides that can stand up to it without competing for attention.
- Cilantro Lime Rice: The brightness of the lime and the fluffiness of the rice act as a palate cleanser.
- Refried Black Beans: For a protein-packed, creamy side that mirrors the traditional enchilada experience.
- Elote (Mexican Street Corn): Charred corn with mayo, chili powder, and lime is the perfect companion to roasted poultry.
- Warm Flour Tortillas: Since this is “Enchilada Style,” providing tortillas allows guests to make their own “pulled” enchilada tacos at the table.
Transforming Leftovers into Gourmet Meals
A 5-pound chicken often leaves leftovers. The beauty of the Enchilada Style chicken is that the meat stays flavorful for days.
- Enchilada Chicken Tacos: Shred the remaining meat, toss it in the leftover pan sauce, and serve in charred tortillas with cabbage slaw.
- Enchilada Soup: Use the carcass to make a spicy stock. Add the leftover shredded meat, black beans, corn, and topped with tortilla strips.
- Enchilada Salad: Serve cold shredded chicken over a bed of romaine with black beans, corn, and a chipotle-ranch dressing.
- Mexican Style Grilled Cheese: Place shredded chicken and Monterey Jack cheese between two slices of sourdough bread and grill until gooey.
Tips for Achieving Crispy Skin Under a Bold Sauce
One challenge with saucy chicken is maintaining texture. If you pour sauce on too early, the skin can become soggy. To avoid this:
- The “High-Heat Start”: As mentioned, start the chicken at a high temperature (425°F) with only the dry rub. This sets the skin and renders the fat.
- The “Late Baste”: Only apply the wet sauce during the last 20-30 minutes of cooking. This allows the sauce to caramelize and thicken without steaming the skin into mush.
- Broil Finish: If you want extra texture, turn on the broiler for the last 2-3 minutes. Keep a close eye on it, as the sugars in the sauce can burn quickly.
Health Benefits and Nutritional Balance
This dish is not only delicious but can be part of a healthy lifestyle.
- High Protein: Chicken is an excellent source of lean protein.
- Capsaicin: The chilies in the enchilada sauce contain capsaicin, which can boost metabolism and have anti-inflammatory properties.
- Low Carb/Keto Friendly: If served without tortillas or rice, this is a perfect high-protein, low-carb meal.
- Nutrient-Dense Spices: Spices like cumin and turmeric (often found in chili blends) are loaded with antioxidants.
The Cultural Connection: Inspiration from the Heart of Mexico
While this specific “Whole Chicken” preparation is a modern fusion, the flavors are deeply rooted in Mexican history. Enchiladas date back to the time of the Aztecs, where the practice of wrapping foods in tortillas was common. The term “enchilada” literally means “to season with chili.” By taking these ancient seasoning profiles and applying them to a European-style roast, we create a dialogue between different culinary traditions that results in something entirely new and exciting.
Frequently Asked Questions (FAQs)
Can I make this in a slow cooker?
Yes, but you will lose the crispy skin. If using a slow cooker, place the chicken and sauce inside and cook on low for 6-7 hours. To get some texture, you can place the cooked chicken under a broiler for a few minutes before serving.
How do I make the sauce less spicy?
The heat in enchilada sauce comes primarily from the seeds and membranes of the dried chilies. Ensure you remove them completely. You can also substitute a portion of the chili powder with mild paprika or add a tablespoon of brown sugar to neutralize the heat.
What if I can’t find dried chilies?
You can use a high-quality chili powder (look for one that isn’t just “chili seasoning” but pure ground chilies). Mix it with tomato sauce, chicken broth, and garlic to create a shortcut version of the sauce.
Can I use a frozen chicken?
You must thaw the chicken completely before starting. Thawing in the refrigerator for 24-48 hours is the safest and best method for maintaining texture.
Is this dish gluten-free?
If you make the sauce from scratch using cornstarch or simply reducing it (instead of using a flour-based roux), the dish is naturally gluten-free. Always check store-bought sauce labels for hidden thickeners.
Common Mistakes to Avoid
- Overcooking the Breast: Use a thermometer! 165°F is the magic number. Anything over 175°F and the breast meat will begin to turn stringy and dry.
- Crowding the Pan: If you add too many vegetables around the chicken, they will release steam, which prevents the chicken from roasting and instead “boils” it. Use a large enough sheet pan so there is space for air to circulate.
- Using Only Breast Meat: While you can use this method for chicken breasts, a whole chicken provides a mix of fats and textures that make the “Enchilada Style” truly work. The dark meat of the thighs stays much juicier under the acidic sauce.
Mastering the Art of the “Flavor Crust”
The most sought-after part of a Tender Whole Chicken Enchilada Style is the “Flavor Crust.” This is the area where the dry rub and the reduced enchilada sauce meet. It should be dark, slightly tacky, and bursting with concentrated spice.
To maximize this, ensure you pat the chicken extremely dry with paper towels before applying the initial dry brine. Any surface moisture will prevent the spices from adhering and the skin from crisping.
Conclusion: Bringing the Big Flavor Home
The Tender Whole Chicken Enchilada Style is more than just a meal; it is an experience. It fills your home with the intoxicating aroma of roasted garlic, toasted chilies, and savory poultry. It challenges the notion that roast chicken has to be simple or predictable.
By following the techniques of dry brining, spatchcocking, and crafting a multi-layered sauce, you elevate a humble bird into a culinary masterpiece. Whether you’re serving it with a side of traditional Mexican rice or shredding it for the best tacos of your life, this recipe promises “Big Flavor” in every single bite.
So, put away the rosemary and thyme for a night. Grab some dried anchos, sharpen your kitchen shears for some spatchcocking, and get ready to redefine what Sunday dinner looks like. Your taste buds—and your guests—will thank you.